One of the reasons why we moved from Wordpress to Jekyll was to reduce the friction and sheer amount of stuff needed to create or update a post. In this respect we have succeeded - a quick glimpse at our archives broken down by year shows clearly the ramp up in post velocity in 2016 (when we first switched over internally) versus the proceeding Wordpress years.
Given the simple requirements and static nature of content for a Jekyll site ostensibly it should be possible to not only write a post on an iPad (that part alone is easily accomplished with any text exitor) but also fully publish it to production as well.
So we decided to try - this post, created entirely on and deployed from an iPad is the result.1)
Of course, just because one can do something doesn’t mean one should do it - or that it will be particularly pleasant or straightforward either…
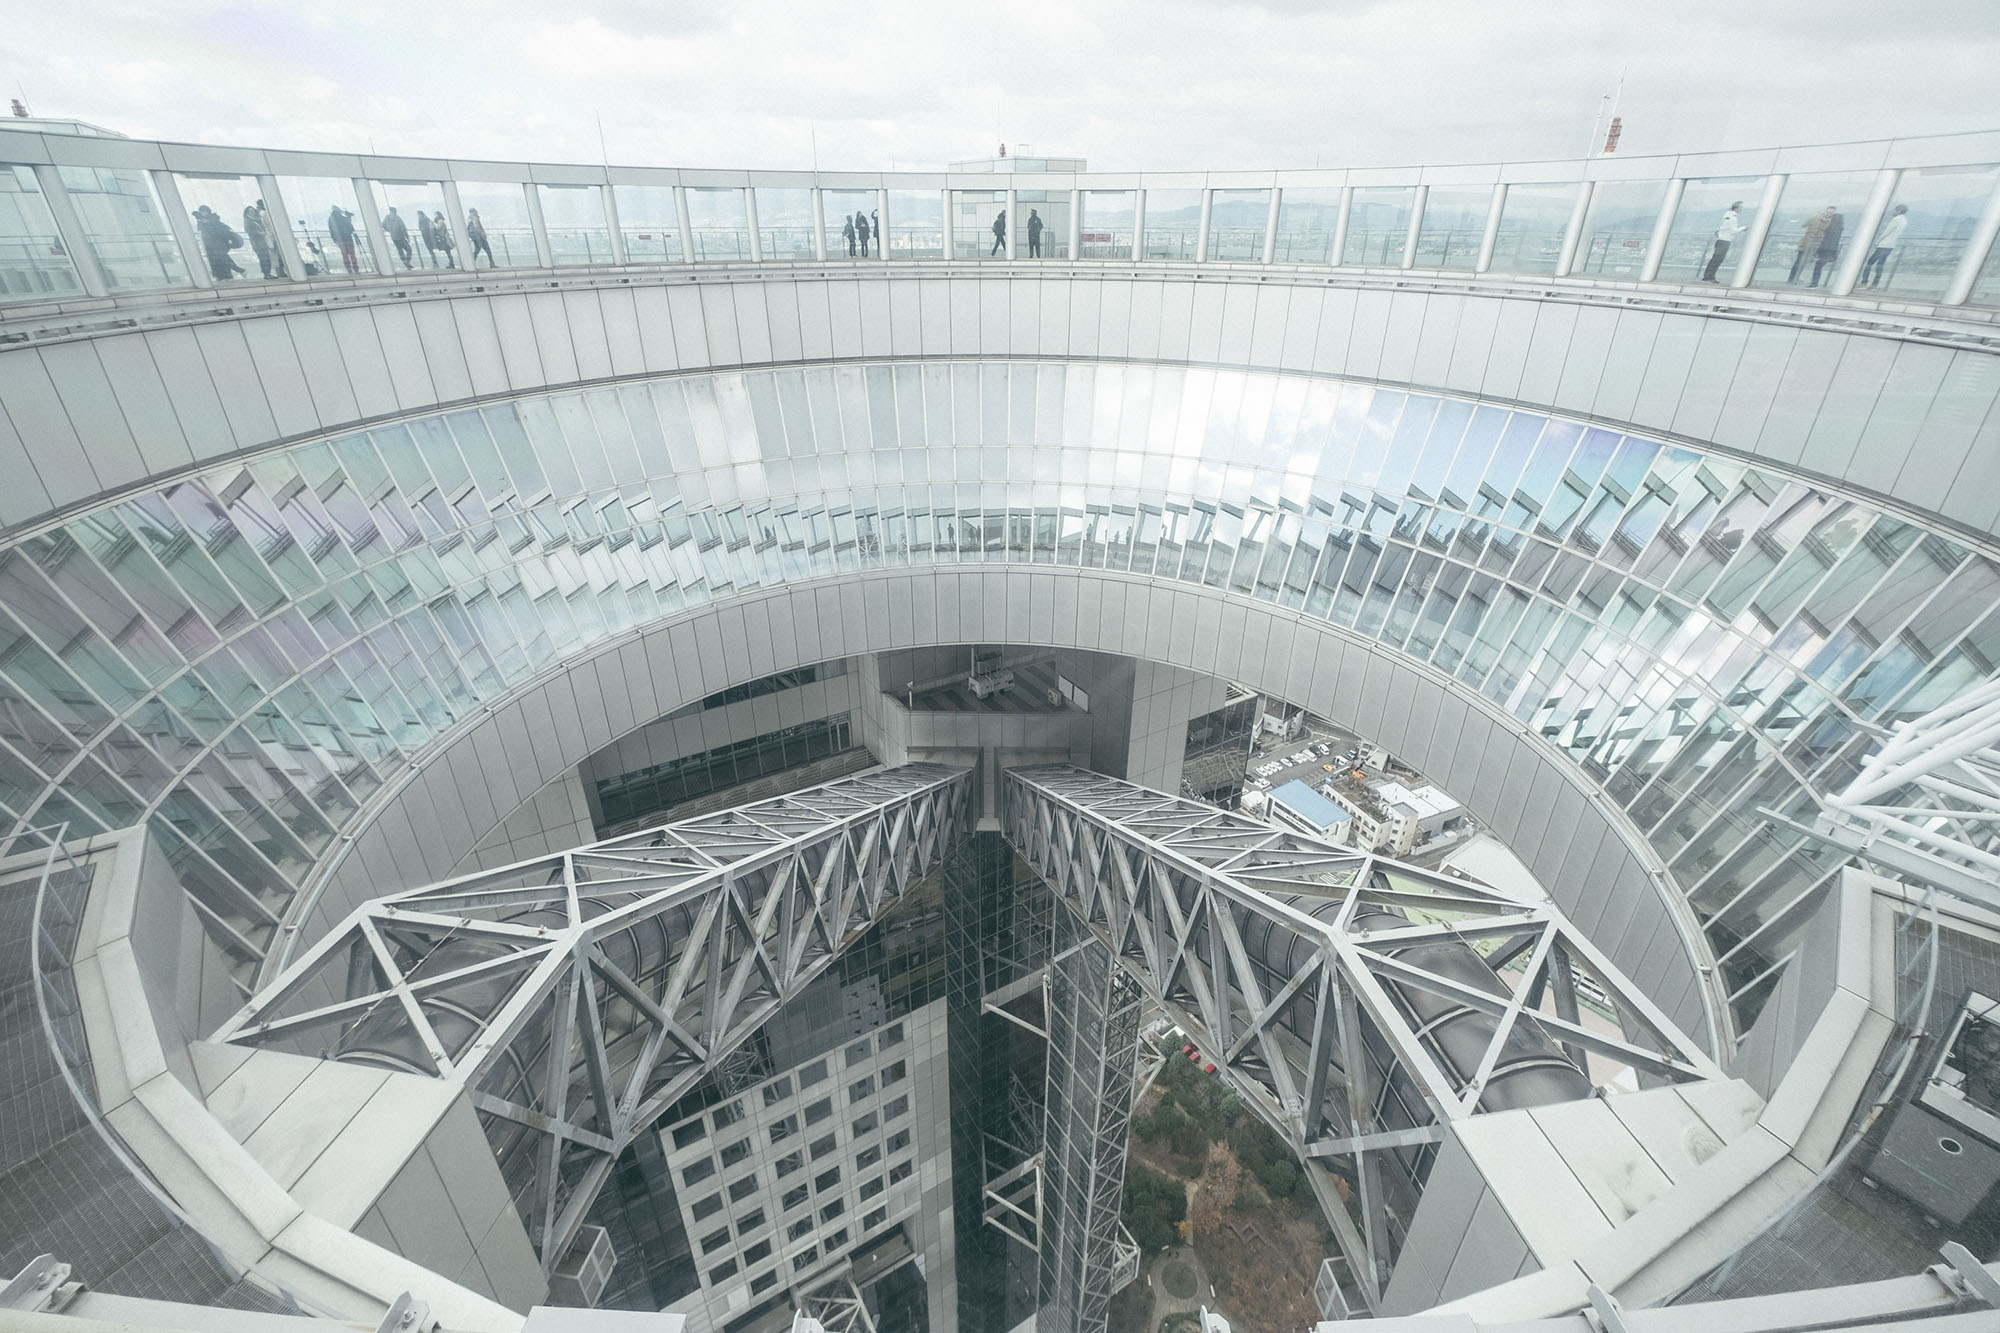
 Testing images in posts — Coming Of Age Day 2017, Meiji Jingu
Requirements
There are a few ways to accomplish the task of updating a Jekyll blog from an iOS device, depending on one’s particular setup and how one defines “updating.”
In our case, our requirements for what constitutes “updating” are as follows:
- Create a new post that consists of text, images and requisite metadata (Jekyll Frontmatter)
- Get the post and its associated images into the remote repository2
- Pull, build and deploy the latest changes to on the production server
- Ideally do it all from an iPad Mini without a separate keyboard3
Setup
With these requirements in mind, we narrowed down the list of needed apps:
- Working Copy: Hold all the source files on the iPad, create and add new posts and images into the repository, commit and push to the remote repository. (You could also technically write the post itself in this app as well)
- Editorial: An advanced text editor that integrates nicely with Working Copy via the use of a specialized workflow, saving you tons of copy/pasting. Useful for writing longer posts it gives you niceties like markdown preview and tons of extensibility. Not strictly necessary if your needs are simple, as you could use the integrated text editor in working copy.
- Reduce: Resize images to appropriate dimensions. We settled on this app for several key reasons: it lets you do super handy things like resize either the long/short dimension to a set pixel width whilst preserving the aspect ratio on the other, lets you specific output image file size (in either kb or JPG quality percentages) and crucially preserves EXIF data (optionally) - the only image resizing app we’ve found that does this.
- Prompt 2: SSH into the production server to pull changes from remote and build/deploy the updates
When deciding the apps required, the question of how to deal with images is important in determining the appropriate workflow.
In our case our images live directly inside of logically named sub-directories inside of an assets folder sitting in the root of our Jekyll project, meaning that when we create a post we need to get the images directly into the repository alongside the post itself, so it can be deployed to the production server.4
For people who don’t want to keep their images under revision control but instead host them on a separate folder and link them as remote files in the posts, they will additionally need to add an FTP app like Panic’s excellent Transmit to get the images where they’re supposed to be.
Since many of our images are far too large in file size and dimensions to be suitable to upload to the site straight out of camera, we need the Reduce app to resize them appropriately before adding the to the repository. People who don’t want to include images in their posts, only link to remote images uploaded by others or only have small files to begin with don’t need to worry about this step and so can omit this app.
Alternatively, people who use filtre software like VSCO can probably replace the Reduce app with their preferred filtre software since they often support a small resized export option - this is assuming they don’t care about preserving EXIF data in their source files.
The Workflow
Now for the actual how of the workflow - we’ll cover that in part II because it turns out that authoring a post of any substantial length an iPad is really kind of unpleasant…
-
Technically the iPad doesn’t build the site - that happens on the production server. But we push the content created on the iPad to the server and then SSH in from the iPad to do the deploy remotely, so close enough. ↩
-
Assuming you’re using revision control that is. You are, aren’t you? And if you’re not much like above, you can use an FTP app such as Transmit to get your source .md files into whatever server will be building them. ↩
-
Why? The iPad mini is the only iPad smaller and lighter than our 12” retina MacBook but bigger than our iPhone 7+ where we could potentially see a weight reduction in our daily load out if we could get this workflow up and running. No keyboard for the same reason - if you added even a tiny external keyboard then one mightt as well carry the incredibly teeny-tiny and infinitely more capable 12” MacBook. ↩
-
When building, as with all other non underscore directories (i.e.
_postsor_layoutsetc.) the contents of this folder get moved into the built_sitewebroot and served. This means that all the images for posts get committed and revision controlled along with the rest of the site content which makes keeping everything in sync incredibly easy - a simplegit clonefollowed by ajekyll buildgets the very latest build of the site running on whatever machine you’re on. This comes at the expense of a larger overall repository and slow initial clone of course - one needs to be careful to watch the size of the images (and in fact we’ve been quite lazy with our compression and resizing - we could do much, much better). ↩